Microsoft’s 23H2 update has been in the pipeline for some time now, with various insider builds letting us glimpse the new features of the build. After waiting for so long, the company has officially started rolling out the 23H2 update for Windows 11. Here, we will discuss the new 23H2 update features and tell you how to install Windows 11 23H2 on your PC easily with step-by-step instructions.
Microsoft Releases Windows 11 23H2 Update: New Features
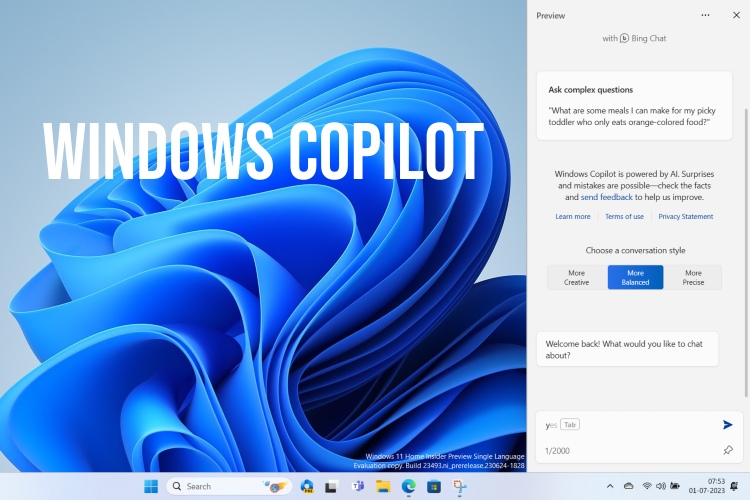
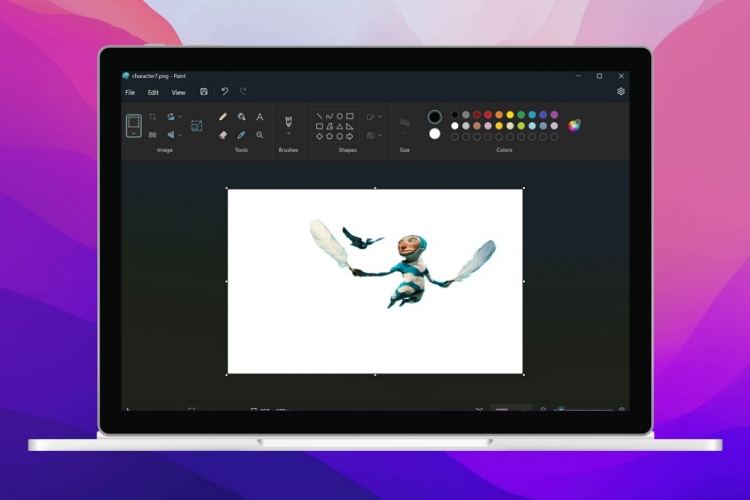
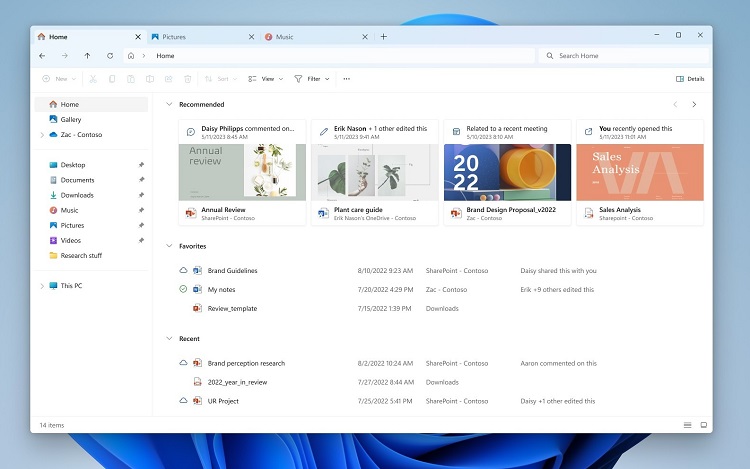
According to the Windows Blog, the Windows 11 23H2 update is a “scoped, cumulative release,” which means it contains all the recently announced 23H2 features that were pushed in the September update already, along with some even newer ones. Existing features include Windows CoPilot AI, the Snipping tool application updates, the File Explorer ‘.RAR‘ extension support, along the MS Paint background removal.
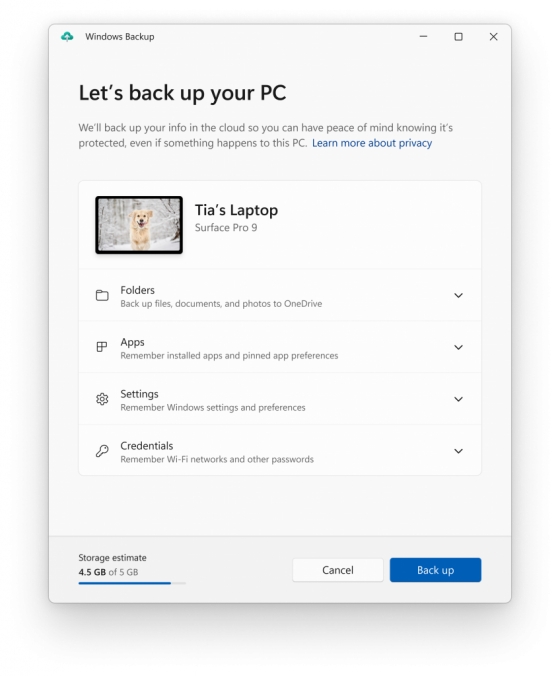
In addition to these, 23H2 has many other new features and quality-of-life improvements. These include Chat now being MS Teams and being pinned to the taskbar by default. Applications included in Windows 11 will also now be separated from the ones you install for easy sorting.
Microsoft Releases Windows 11 23H2 Update: How To Install It
MS will provide the update using its existing technology. However, to ensure you get the update quickly, follow the steps below.
1. First, press the ‘Windows button + I‘ keyboard shortcut to launch the Settings app.
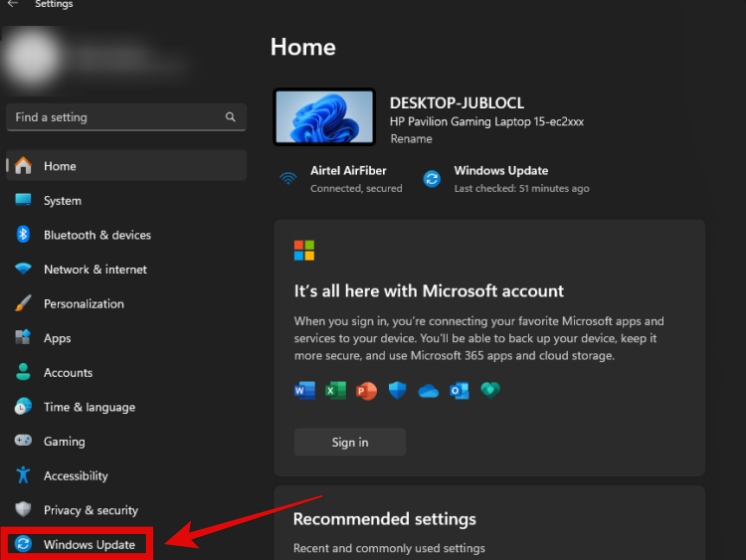
2. Next, click on the Windows Update section on the left. You can also access it directly by searching for it in the start menu search.
3. After that, click on the toggle for “Get the latest updates as soon as they’re available.”
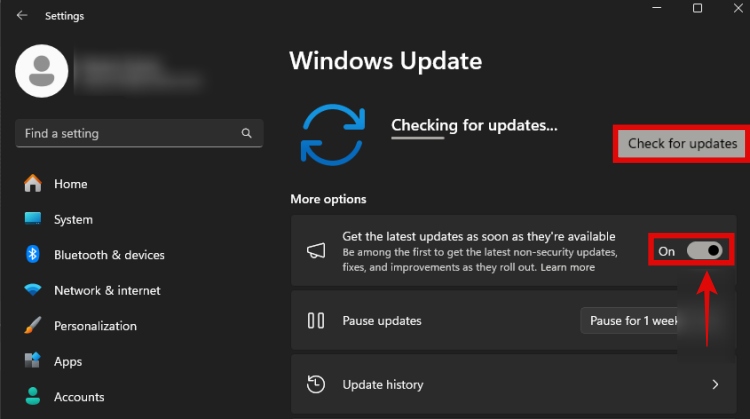
4. Now, you should be able to receive updates for the new 23H2 build by clicking on “Check for Updates.” If this does not work, do wait because the 23H2 update has just come out, and it will slowly phase to more users soon.
What are your thoughts on the new Windows 11 23H2 update? Will you be installing it now and taking advantage of all the new features? Let us know in the comments below.
